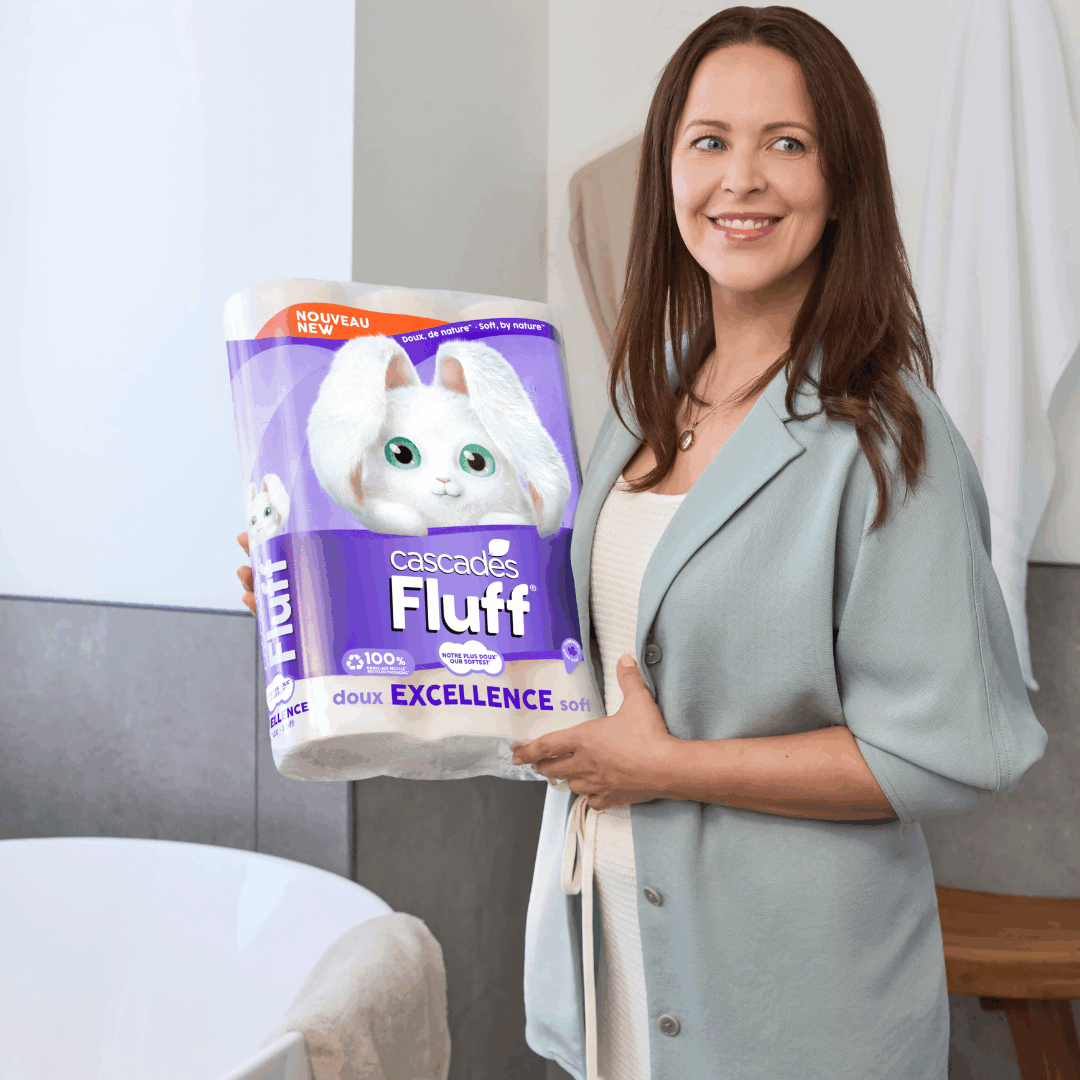
Whether they’re for Easter or toys, FluffTM and TuffTM know a thing or two about bunnies! Soft and loving by nature, always there to accompany moments of tenderness, they spark joy in the hearts of young and old!
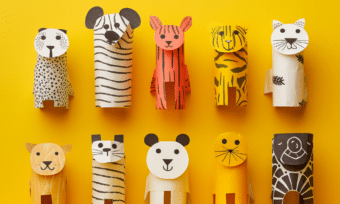
To mark the arrival of Easter eggs, here’s how to make a bunny with toilet paper rolls—a fast and simple craft to create with young and old at any time of year!
The supplies
For the body:
● Toilet paper rolls or
● Paper towel rolls
For the decoration:
● White paint
● Coloured pencils
● Sheets of paper (white or coloured)
● Glue
● A brush
● Scissors
Little extras:
● Googly eyes
● Cotton balls or little decorative pompoms
The steps to make a toilet paper roll bunny
To enjoy little decorative bunnies at home, here are our steps to create them:
1. Colour the rolls
Wearing aprons and providing the necessary protection for the table, start by painting the toilet paper rolls white. This first layer will let you cover the cardboard. Although bunnies are usually white, for more imagination, feel free to choose different colours! Pink, blue, red, gold, or mauve, they can even be adorned with stripes or polka dots.
Tip: If you have paper towel rolls, cut them in two or three to make the bunnies. They can even come in various sizes!
2. Cut out the ears
A bunny would be nothing without its big ears! To continue your toilet paper roll Easter bunny craft, take your sheets of paper and start by drawing the shape of the ears. Remember to make two sizes: one large and one small for the inner part of the ears.
Carefully cut the ears out of the paper, then glue the inner part to the large part. Decorate them with the colours of your choice!
3. Glue the ears to the body
Your bunny is now ready to open its ears wide. Glue them carefully to the top of the roll, ideally on the inside.
4. The face
Once your ears are proudly in place, you can now add eyes to your bunny. For its nose, draw the snout on a separate sheet, then cut it out, colour it, and glue it below the eyes of your toilet paper roll bunny.
Tip: If you don’t have googly eyes, draw them on a separate sheet and glue them to the roll! You can also create them yourself at home.
5. The whiskers
Everyone knows a rabbit has whiskers! To add a touch of life to your toilet paper roll bunny craft, cut six thin strips out of a sheet of paper, colour them, then glue them to each side of the snout.
6. The finishing touch: the bunny’s tail
Finally, your little toilet paper roll bunny needs its tail. Take a little cotton ball or pompom and glue it to the bottom of the roll on the opposite side of the face.
Cascades Fluff & Tuff®: your partners in crafts
Now you know how to create your own toilet paper roll bunny. To take little steps for the environment, Cascades shares with you its tips for reusing your toilet paper rolls in useful and creative ways! And the commitments don’t stop there. We’ve also developed a line of biodegradable toilet paper made from 100%-recycled fibres!
Explore our other craft ideas using toilet paper rolls to create as a family for moments of creativity, fun, and joy!
