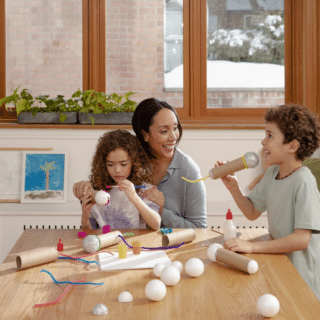
For young and old, a hot bath is always appreciated after a hard day at work or school, or long hours spent playing outside. And to enhance this moment of relaxation, fizzy bath bombs are always a welcome addition!
Would you like to learn how to make your own homemade bath bombs? Fluff® and Tuff® always have tips for families in their bag. Here is their recipe to make bath bombs as a family.
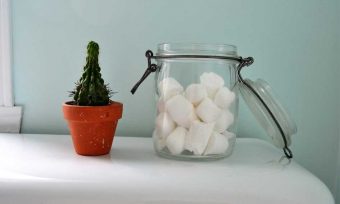
The equipment to make homemade bath bombs
Ingredients :
• 1 cup baking soda
• ½ cup citric acid
• ½ cup Epsom salt
• ½ cup clay or cornstarch (optional)
• 2 tablespoons vegetable oil
*Can be sweet almond, argan, jojoba, coconut (melted), avocado, or even olive oil. For an even more hydrating formula, you can replace the oil with melted shea butter.
• Water in a spray bottle
• 10-20 drops of essential oil**
** If you’re making your homemade bath bombs with your children, choose real lavender, ylang-ylang, or eucalyptus radiata.
Other optional ingredients :
• A few drops of liquid soap dye or food colouring
• Dried flowers or aromatic plants
• Natural glitter to give an even more sparkly effect to your bath (especially for the youngest children).
Equipment :
• Two bowls to mix the ingredients
• Measuring cups and teaspoons
• Whisk
• Spherical bath bomb molds or small cake molds (can be any shape you want)
• Spatula
• Gloves (optional)
How to make your bath bombs
You are now ready to create your first bath bombs! Choose the scents and colors for each bomb and follow the steps in our homemade bath bomb recipe.
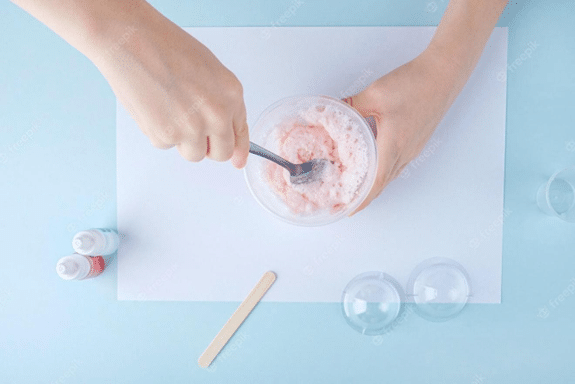
Step 1: Dry bath bomb mixture
In a large bowl, mix the dry ingredients: baking soda, citric acid, Epsom salt with clay or cornstarch, and (optionally) dried flowers, aromatic plants, or glitter.
Step 2: Wet mixture
In a small bowl, mix the wet ingredients: vegetable oil, coloring, and drops of essential oil.
Step 3: Mixture of all the ingredients
Pour the wet mixture little by little and slowly into the dry ingredients. Be careful: add small quantities at a time and mix directly to avoid triggering the long-awaited reaction!
Psst! If you do trigger the reaction, have some paper towels handy!
Spray a little water at the same time to bind everything together. Once the ingredients are completely mixed, your wet paste should fit compactly in your hand.
Step 4: Forming the bath bombs
Insert the paste into your molds and pack the mixture firmly to make it compact. If you have preparations with different colors, have fun mixing them in the molds to vary the results!
Step 5: Drying and preservation
Let your homemade bath bombs rest for 6 to 24 hours to dry and harden. Once ready, your bombs can be stored for 3 to 6 months in airtight containers.
Hours of family fun
Now you know how to make your own homemade bath bombs in all possible shapes, colors, and scents! All you have to do is figure out the bath schedules for everyone and enjoy your fizzy bombs. And to satisfy your loved ones, they make great gifts that are sure to please everyone!
Cascades Fluff&Tuff® is always on the lookout for new craft and recipe ideas to create as a family. Take advantage of our DIY effervescent tablets for toilets or our laundry soap recipe to discover the pleasures of making your own homemade products.