![]() Béatrice Bernard-Poulin | Béatrice
Béatrice Bernard-Poulin | Béatrice
You’re looking for a simple DIY project to do with the kids, something that’s inexpensive and easy for children of any age? Try learning to knit with a toilet paper roll!
Surprising but true, the empty tube of the roll can be made into a knitting loom to create a pretty knitted piece. You can use this tool to make a bracelet, necklace or simply something to admire!
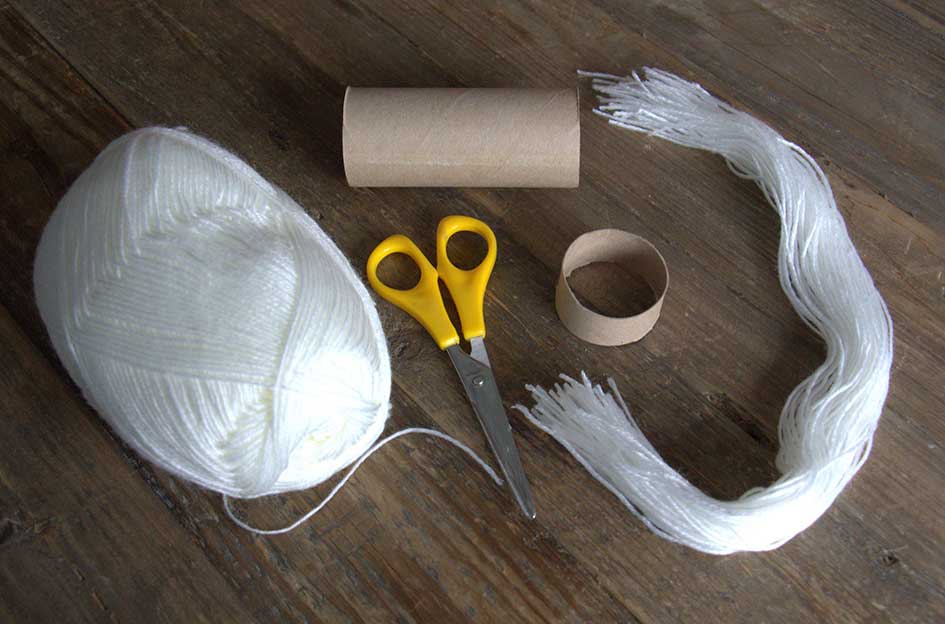
Here’s what you need to make this DIY craft:
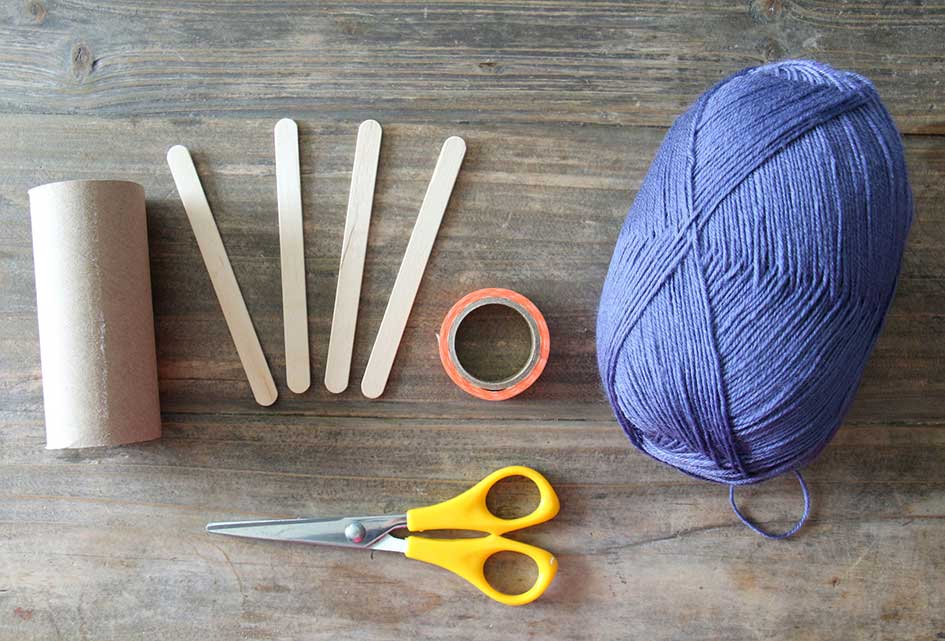
- One toilet paper roll
- 4 popsicle sticks
- Something to stick the above two materials together (e.g. hot glue and/or washi tape)
- Yarn
- Scissors
To make your knitting loom, simply glue the four popsicle sticks to the toilet paper roll, so that the ends stick out by about 2 cm. Personally, I applied a few drops of Crazy Glue to help the sticks hold, and then wrapped it all in washi tape. Not only is it pretty, but it keeps you from catching your fingers on the sticks!
Make sure your popsicle sticks are evenly spaced out. The simplest is to glue one stick in place, and then glue the second stick directly opposite the first one. The last two sticks will then be easier to position.
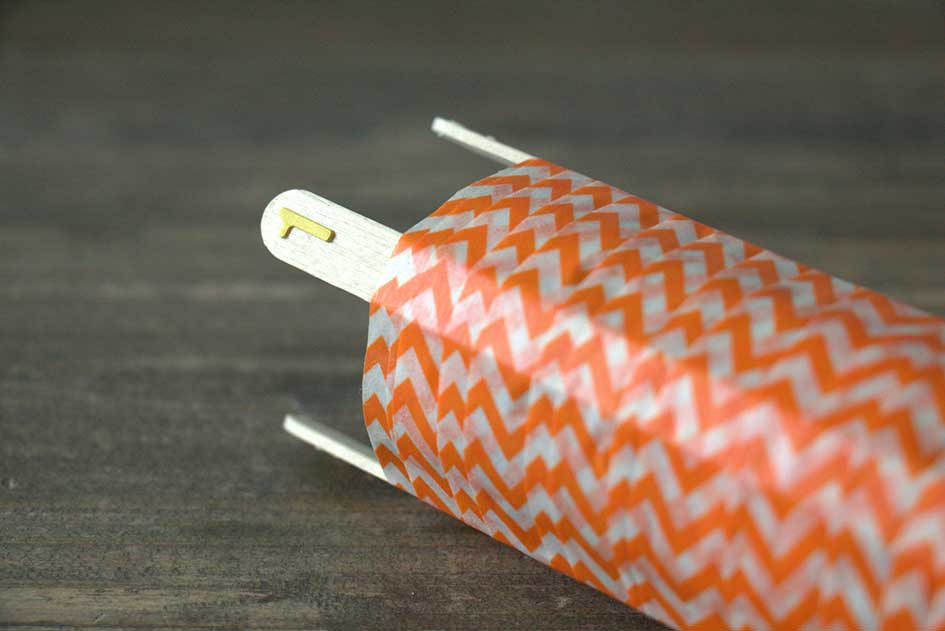
I chose to number the sticks to help me keep track of my knitting, but this is not necessary. Alternatively, you can simply mark the first stick with a coloured dot.
For other methods on making your own loom and learning to knit, watch these video tutorials.
Start knitting
The knitting is accomplished with your fingers and is very easy, but you have to watch what you’re doing.
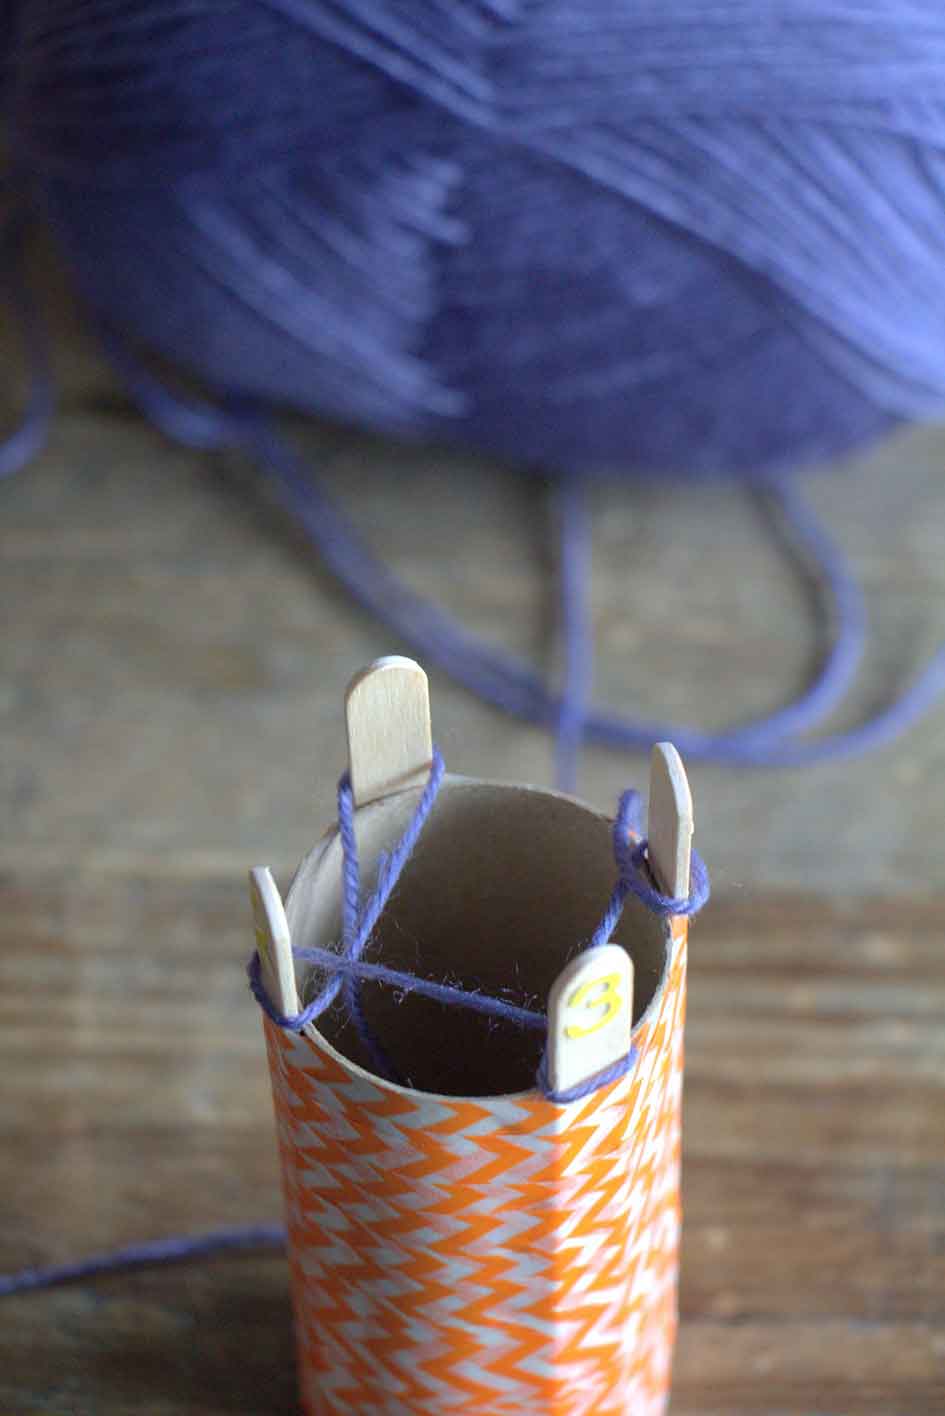
First, you need to make the foundation. Start by passing the yarn through the roll from the top (where the sticks are sticking out) to the bottom, leaving a yarn tail the approximate length of the toilet paper roll.
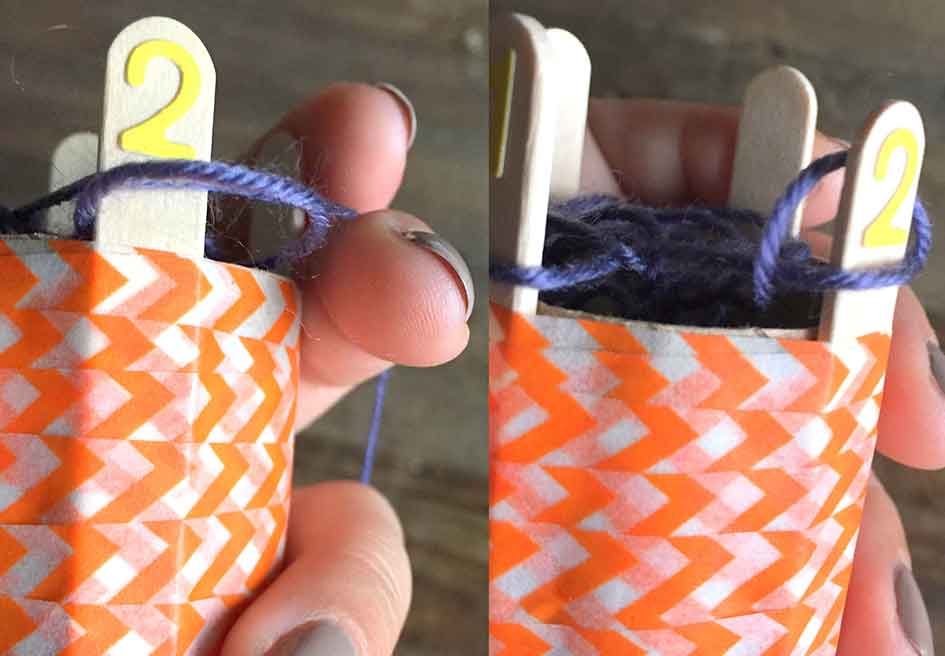
Then, wrap the yarn around the front of the first stick, from left to right. Wrap the yarn the same way around the second stick. Repeat this step for all four sticks. Your loom should now look like this:
Now that you’ve formed your base, it’s time to knit! Pull the yarn tail to tighten your work at the top. Then bring the yarn at the top (the end that’s attached to the ball of yarn) over—this is very important!—the yarn on the first stick.
You now have two loops around the stick.
Take the bottom loop (the one you wrapped first) and pass it over the second loop, letting it fall inside the toilet paper roll, and pull the yarn tail. Repeat this step 5 or 6 times, around the other sticks, pulling occasionally on the tail to tighten the work.
You should now see a nice little spider web forming in the centre of your roll:
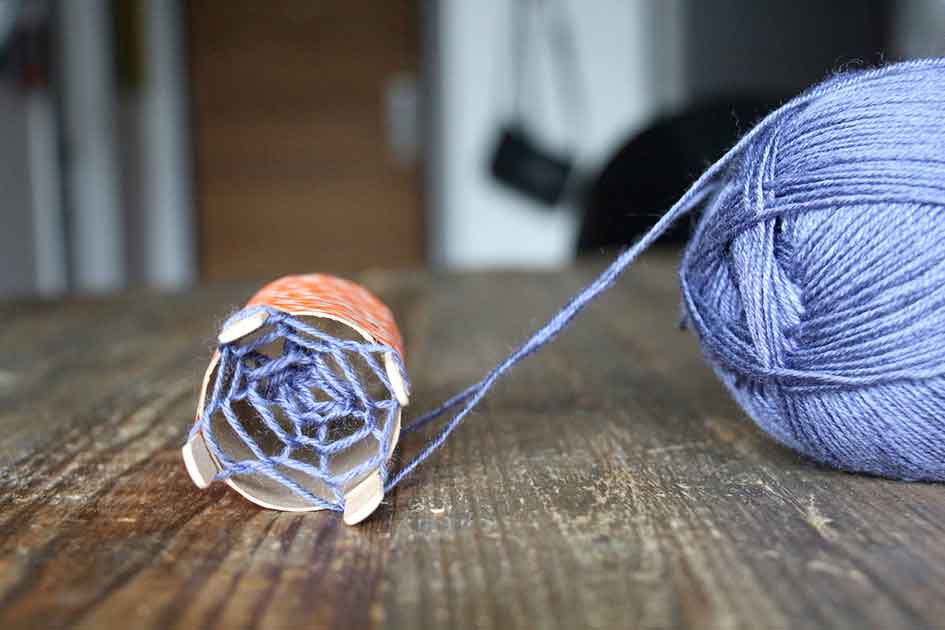
Repeat this step around the loom as many times as you like, until your knitted piece is the desired length.
Now, it’s time to tie it off. To do so, cut the yarn from the ball, leaving about 20 cm.
Pull the tail at the bottom to tighten your work. Holding the loose end in one hand, very carefully remove the loop from the first stick: pass it over the top of the stick, thread the end of the yarn through this loop, and let it fall inside the toilet paper roll. Repeat this step with the remaining three sticks.
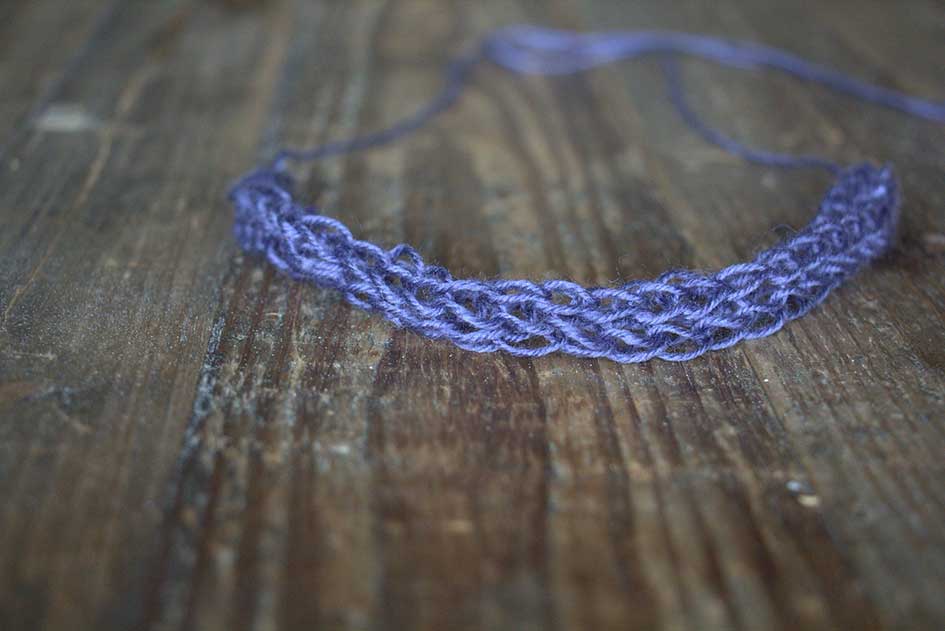
And voilà, you have your first knitted project!
DIY Christmas craft
Has this first project given you the knitting bug?
It happened to me too! In mere minutes, you can create a DIY tuque that will make the perfect decoration for your Christmas tree and will give the impression that you knitted it, even though there’s nothing to it.
Here’s what you need:
- One toilet paper roll, cut into about 1-cm rounds
- Yarn, cut into strands about 30 cm long.
- Scissors
Craft a faux-knit hat
To create the cuff of the tuque, fold a yarn strand in half, and pass the two ends inside the loop end, from one edge of the tube to the other.
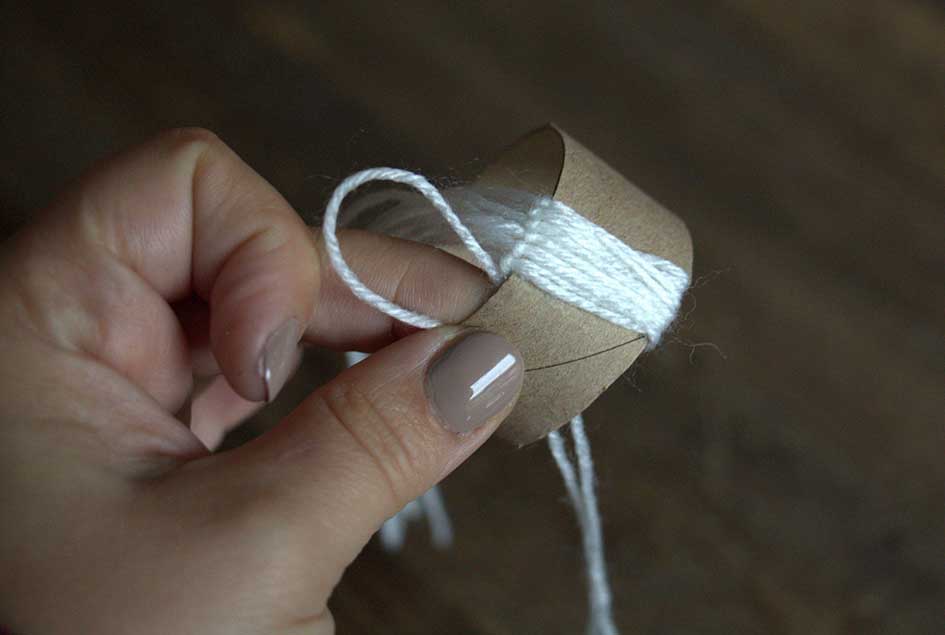
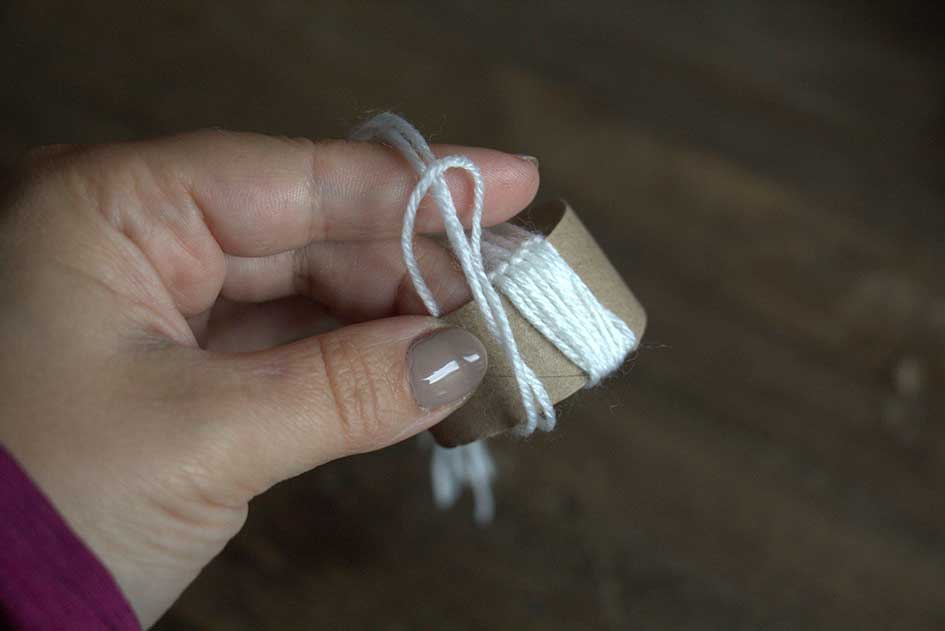
Pull the ends and repeat with the other strands until the entire tube is covered in yarn. Depending on the thickness of your yarn, the number of strands you need may vary a lot.
Then, pass all the ends of the yarn from one side of the tube to the other to create the effect of a tuque cuff.
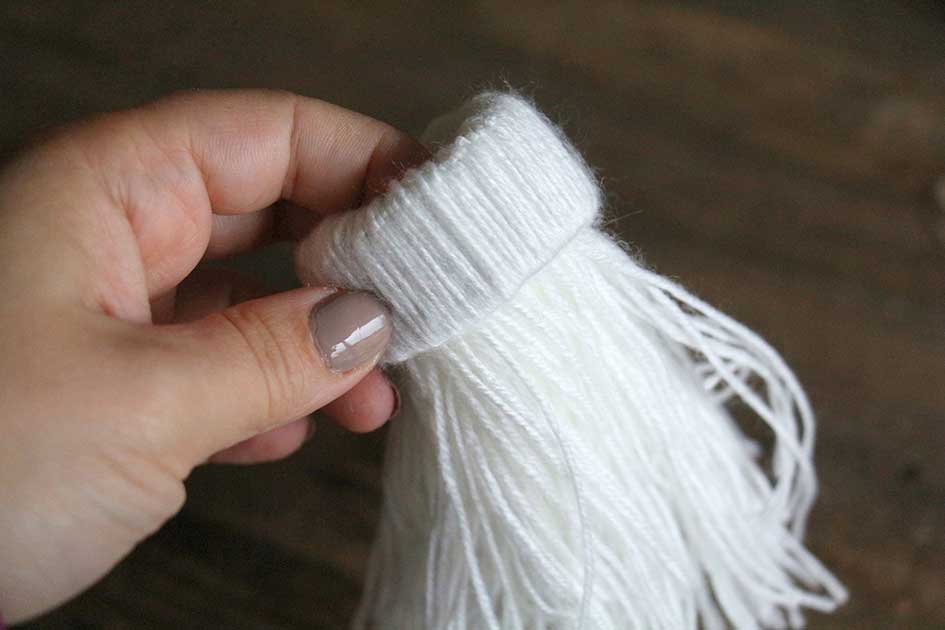
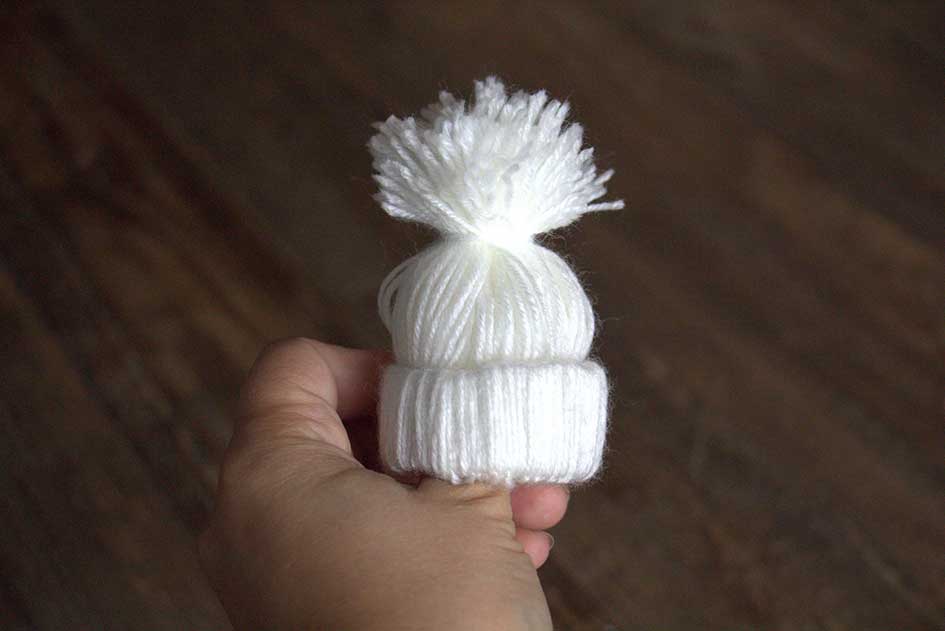
Now, all you have to do is use a separate strand of yarn to tie the loose ends into the shape of a hat with a pompom. Position the yarn and pull tightly, before making a double knot.
To complete the project, trim the pompom into a nice round shape, and there you have a mini faux-knit tuque!
Happy crafting!
You liked this craft? Cascades FluffTM suggests the article 10 great crafts that use toilet paper rolls.